No-bake strawberry ricotta cheesecake
 8
8
 Easy
Easy
 1 hour 30 minutes, plus 18 hours straining the filling time
Coeur a la creme is exactly the kind of dessert I want to eat in the summertime with fresh berries. It’s a lightly sweetened mixture of heavy cream and cream cheese (though sometimes creme fraiche, ricotta, or farmer cheese) that’s whipped, spread into a heart-shaped mould lined with cheesecloth, and drained overnight in the fridge until it’s creamy and thick.
The filling for this no-bake cheesecake is a spin on Coeur a la creme, made with ricotta and brightened with lemon juice. Chilled in a graham cracker crust and covered with a set strawberry topping, it becomes a light, fresh, no-bake cheesecake (actually, the crust is baked, so it’s not technically a no-bake recipe, but let’s not split hairs).
Ingredients
Method-
For the filling:
- 1¼ cups ricotta cheese
- ½ cup icing sugar
- 2 T fresh lemon juice
- 2 t vanilla extract
- 1 t finely grated lemon zest
- ¼ t Morton kosher salt
- 225 g cream cheese, cut into 1-inch pieces, chilled
- ¾ cup whipping cream, chilled For the crust:
- 170 g Digestive biscuits
- 4 T unsalted butter, melted and cooled
- 3 T granulated sugar
- 1 large egg yolk
- pinch of kosher salt For the topping:
- 283 g strawberries, hulled and thinly sliced lengthwise
- 1⁄3 cup granulated sugar
- 1 t unflavored gelatin powder
Method
Ingredients1. In a medium bowl, combine the ricotta, icing sugar, lemon juice, vanilla, zest, and salt and stir with a flexible spatula to incorporate the confectioners’ sugar, then blend the mixture on high using a handheld blender until it’s completely smooth without a speck of graininess. (Alternatively, combine the ingredients in a standard blender and blend on high speed until completely smooth, then scrape into a medium bowl.) Set the bowl aside and reserve the blender.
2. : In a separate medium bowl, combine the cream cheese and heavy cream and blend with the handheld blender until the mixture is smooth, lump-free, and thick. (Alternatively, combine them in a standard blender and blend on medium-high, then scrape into a separate medium bowl.)
3. Using a hand mixer, beat the cream cheese mixture on medium-low and gradually add the ricotta mixture, mixing until incorporated, then increase the speed to medium-high and beat until you have a light, thick mixture that holds its shape, about 30 seconds longer.
4. Line a mesh sieve with a double layer of cheesecloth, leaving several inches of overhang, and set it over a medium bowl. Scrape the filling into the sieve, fold the cheesecloth up and over the filling, and place a small plate on top. Place two 410 g cans on top of the plate, then refrigerate until the filling has released a couple of tablespoons of water and has thickened to the consistency of whipped cream cheese, 12 to 18 hours.
5. Arrange an oven rack in the centre position and preheat the oven to 176°C.
6. Place the digestive biscuits in a resealable bag, press out the air, and seal. Use a rolling pin or heavy-bottomed saucepan to crush the crackers, periodically shaking the bag so the larger pieces settle to one side, and continue to crush until you have very fine, uniform crumbs. (You can also pulse them in a food processor until finely ground, but it’s very doable by hand.)
7. Transfer the crumbs to a medium bowl and add the melted butter, granulated sugar, yolk, and salt. Toss with a fork until the mixture is well combined, then rub the mixture with your fingertips until it looks like wet sand.
8. Transfer half the mixture to a 9-inch springform pan and scatter the crumbs evenly around the perimeter. Use a straight-sided glass or 1-cup dry measure to very firmly press the crumbs 3 cm inches up the sides, then scatter the remaining crumbs across the bottom of the pan and use the bottom of the glass or measuring cup to flatten the mixture into an even layer.
9. Place the springform pan on a sheet pan and bake until the crust is fragrant, firm to the touch, and dark brown around the edges, 13 to 18 minutes. Remove from the oven and let cool completely.
10. Remove the filling from the refrigerator, uncover, and gently turn it out of the cheesecloth into the prepared crust (discard any liquid it released into the bowl; you can wash and reuse the cheesecloth). Use the back of a spoon or a spatula to smooth the filling into a flat, even layer all the way to the sides. Loosely cover the pan and refrigerate while you make the strawberry topping.
11. Fill a small saucepan with about 2,5 cm of water and bring to a simmer over medium heat, then reduce the heat
to low to maintain a bare simmer. In a heatproof medium bowl, combine the strawberries and granulated sugar and toss gently to combine.
12. Cover the bowl tightly with plastic or a silicone bowl cover and set it over the saucepan, making sure the bottom of the bowl isn’t touching the water. Allow the berries to macerate, swirling the bowl several times to help dissolve the sugar, until they’re softened and swimming in a translucent red liquid, 15 to 20 minutes. Remove the bowl from the saucepan and set aside. Empty the saucepan and reserve.
13. Place 2 tablespoons cold tap water in a small shallow bowl and sprinkle the gelatin evenly over the top (do not stir).
Set the mixture aside to allow the gelatin to soften, 5 to 10 minutes. Scrape the softened gelatin, which will have solidified, into the reserved saucepan and warm over low heat, swirling until it’s completely melted and translucent with no visible granules, about 30 seconds.
14. Remove from the heat and scrape the melted gelatin into the bowl with the macerated strawberries and stir gently to combine. Refrigerate the strawberry topping, stirring it every 10 minutes or so, until the liquid has thickened but not fully set, 30 to 40 minutes.
15. Remove the springform pan from the refrigerator, uncover, and gently spoon the warm strawberry mixture evenly
over the surface, distributing the slices all around and drizzling any juices over the top. Loosely cover again and refrigerate until both the filling and topping are completely set, at least 4 hours.
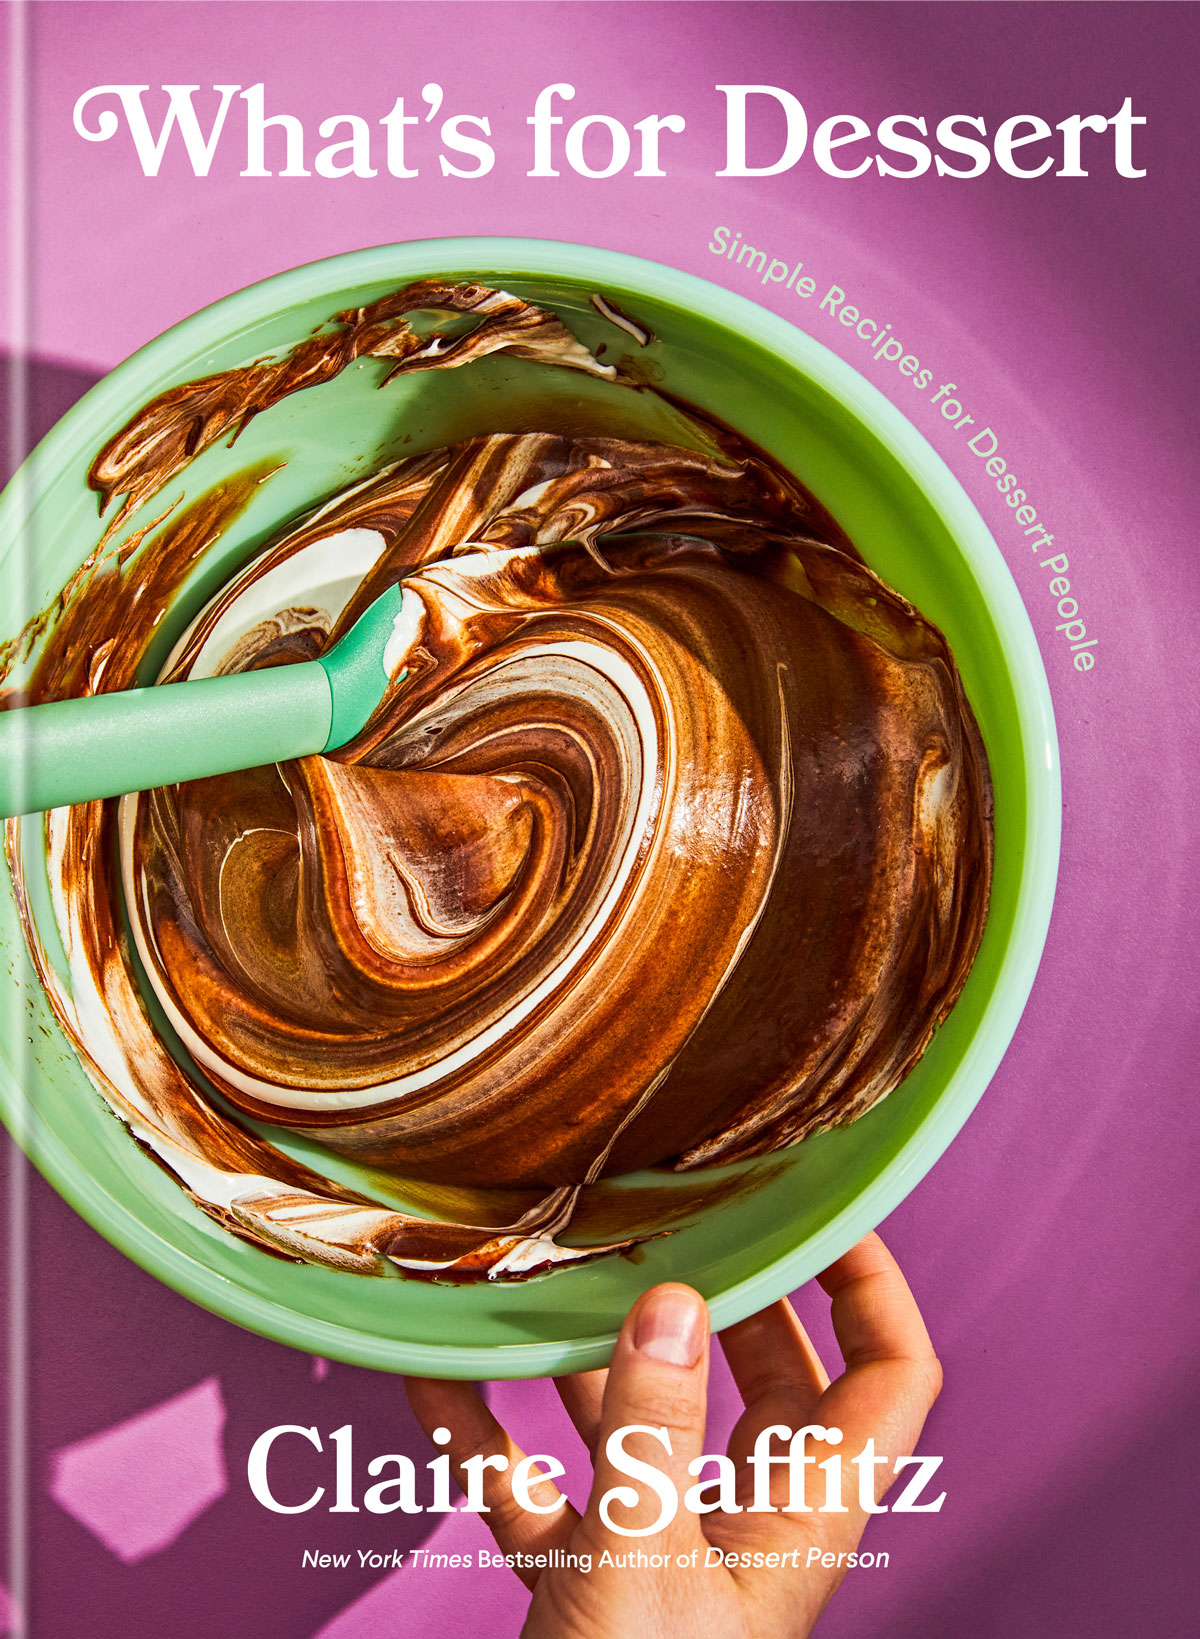
This is an extract from What's for Dessert: Simple Recipes for Dessert People by Claire Saffitz (Murdoch). Photographs by Jenny Huang.
There are no comments yet.

Comments