Experts share their tips for taking better photos of food
In this digital age, we all want to take Insta-worthy food photos. Whether you’re a budding food stylist, a small business owner or just an avid foodie, we’ve got the expert tips you need to take the best photos of food possible.
What are the basic tips for taking good food photos?
1. Find your light
TASTE's contributing food editor Hannah Lewry told us: "Light is everything, especially natural light near a window. It's best to shoot in the morning or late afternoon unless you have a scrim to create that contrast and limit harsh unflattering light." TASTE's very own in-house photographer, Jan Ras, certainly knows a thing or two about food photography and also stressed the importance of natural light: "Try to shoot next to a window, as light from the side works really well. If the light is limited, play around by creating your own and asking a friend to hold their phone with the torch setting on. Keep your hand still and use night mode on your cellphone," he says. Ashleigh Frans, photographer and co-owner of Side Wing, says that you can still make it work even if the light isn't great. "The one good thing that came from load-shedding is that most of us now have battery-operated lights in our homes," she says. "Set one of these up close to your subject, and if it's too bright, use a bedroom sheet or a sheet of baking paper to diffuse the light. If the shadows are too harsh, try using a silver baking tray to fill in on the opposite side. Sounds crazy, I know, but try it and see," she adds.

2. Keep food styling simple
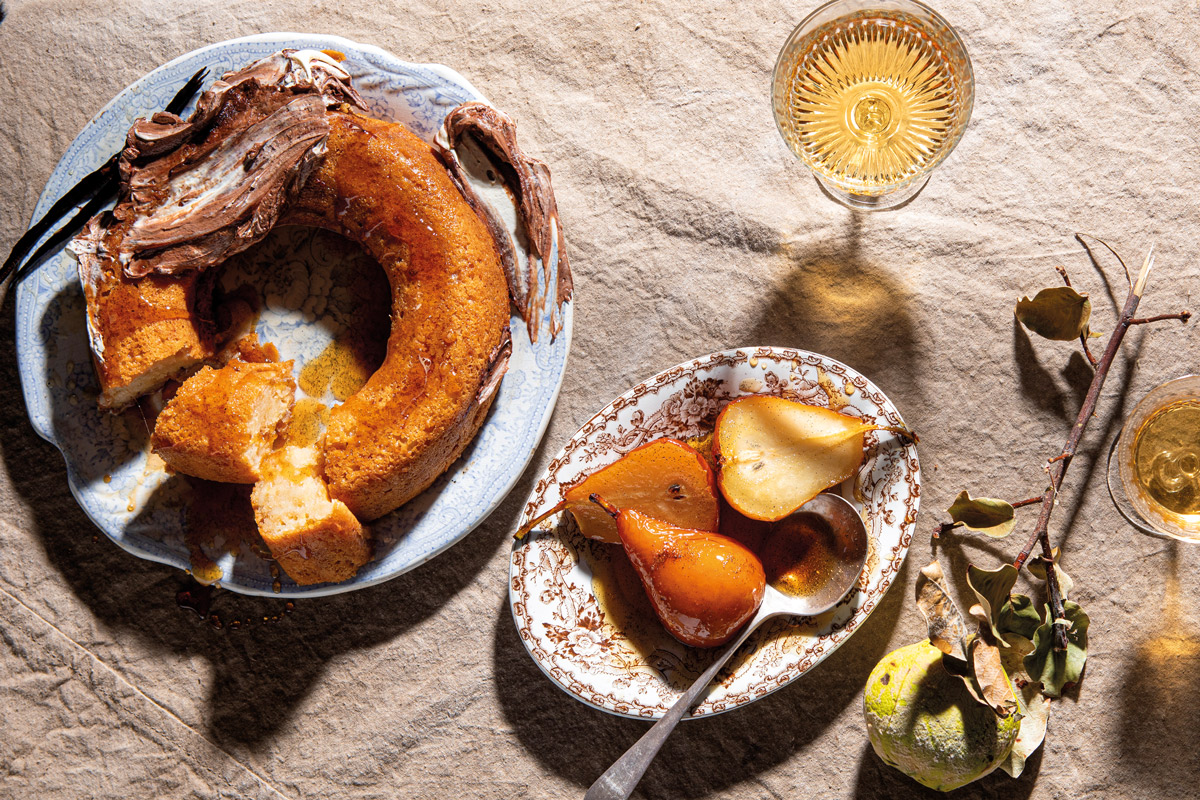
Claire Ferrandi, a food stylist based in Johannesburg, advises shooting a whole dish, rather than portions. "I think as a general rule, a whole dish looks best as it's more casual and natural," she explains. "Celebrate the dish for what it is – there's no need to complicate a dish for the sake of an image." Her suggestion for styling? "Food styled simply and naturally is a great place to start, I’d even say don’t try to style your dishes – a beautiful dish of food, on a simple background, next to soft natural light will usually look beautiful!" Side Wing's Ashleigh agrees. "Keep it simple. A close-up of a dish before it's plated can be just as striking as the dish when it is plated," she says.

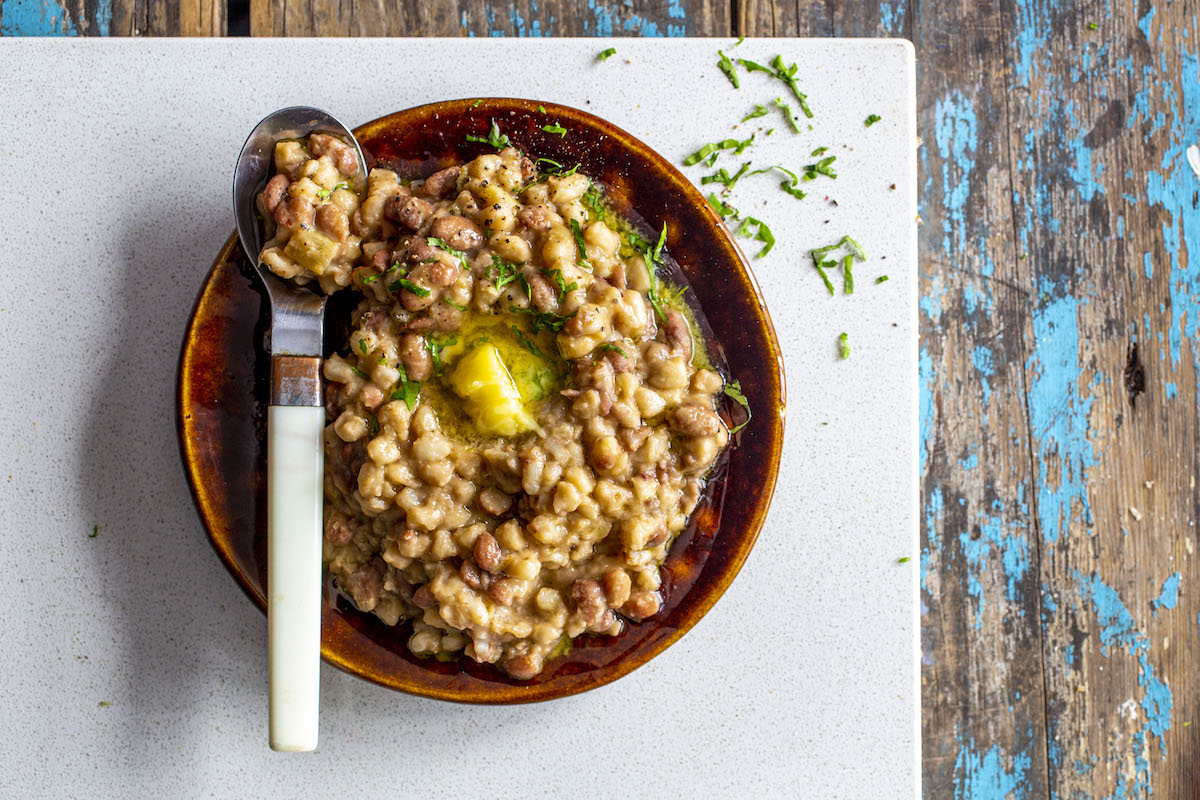
Nikki Symons, owner of Sweet Lionheart, likes to play with texture and colour. "A dish that has some textural variation, as well as a pop of colour, can be easier to photograph and adds to the delicious factor," she says. "A drizzle of basil oil over a tomato gazpacho or some coriander to a curry, for example." When shooting a dish with a single texture, Nikki says that your choice of plate can make the difference. "Something like a bowl of creamed samp can be tough to shoot, but make it take centre stage by using a complementary plate and background, something like a dark ceramic plate instead of a typical white dinner plate can add a touch of contrast to a simple dish for some flair," she adds.

3. Consider the background
"Use what you have. If there’s a neutral or very eye-catching surface around you, use it as a background to help bring character to your image," says Ashleigh. "My favourite is using the floor," she says. Claire says the food should determine the background. "I think this depends on the food and the purpose of the image – the background should provide context to the image. For example, if you're shooting in a restaurant that has wooden tables and a concrete bar counter, use those," she explains. Nikki suggests using colour again. "I love shooting on solid colour paper backgrounds as they are easy to move around and I can use the colour to complement a dish or pick up on accent colours. Be open to using what you have around you though! Sheets of greaseproof paper, an apron, the back of a distressed-looking baking tray – these can all make for interesting surfaces!"

4. Make the best of your phone
Jan Ras had this to say about using your phone: "Watch out for shadows over the dish and try to avoid distorting the image. Never shoot with lighting behind you." He also suggests playing with the settings. "New cellphones have different lenses, so use the standard lens for top shots and the longer focal lens for the three-quarter or frontal angle. This will prevent distortion in the picture." Food stylist Claire says, "I always prefer food shot directly from the top using a phone camera. Turn the phone's flash off, and rely on soft window light. I also like to quickly edit snaps just using the built-in setting in the phone's camera to increase the colour vibrancy." Ashleigh Frans advises changing the setting. "My phone is automatically set to capture images in HDR (high dynamic range), as this builds contrast with an overall heightened picture quality." She adds that you can use the grid setting to "keep things in the centre or to help you stick to the rule of thirds."
5. Do some basic editing
"Lightroom has a mobile app that is a simplified version of the desktop version, and Instagram also has an edit option that allows you to manually edit your images instead of using the preset options," says Ashleigh. "These are my go-to methods for quick editing when on my phone, as they both allow me to adjust exposure, highlights, shadows and contrast and even sharpness," she explains. Jan suggests using Snapseed. "It allows me to punch the contrast up a bit, push the saturation and gives the option to add a vignette effect."
How to shoot the best food reels
What's the secret to making a great food reel?
Hannah Lewry says: "Good light, quick, simple movements will help create a bold impact." She also adds, "Always have a friend or professional to shoot the reel for you so you can focus your full attention onto the food. Above all, shoot options from different angles and in a different light, so you can stitch together the best result." Claire also keeps it simple. "I’d say shoot on your phone, keep the videos short, and I like editing in the reels app for ease". Nikki says reels can also teach people about a specific technique. "Don’t be afraid to show the process! People love seeing how something is made – it’s very difficult for people to deduce your secret ingredient from such a short video, so don’t be afraid to show the behind the scenes. It adds to your online narrative and builds confidence in what you do!
View this post on Instagram
Do I need any specific equipment?
While you can make it work without one Bianca Strydom, TASTE's contributing food stylist, suggests using a tripod for making things a bit easier. "A tripod is very useful because you can't always shoot and style at the same time. I love shooting reels top-down and very tight to show details."
What's the best kind of opening shot?
"Anything with a melty cheese moment gets me!" says Claire. Or think of the final dish as a hook, says Hannah. "A powerful finished image of the dish or digging in and getting involved with the most delicious part of the dish always looks great." Bianca echoes this: "I always think the best opening shot is one of the final product so that people know why they’re watching."
View this post on Instagram
What kind of recipes work best for reels?
"Very easy recipes, ones with three to five ingredients; or one-pot recipes," says Bianca. "Recipes with very graphic ingredients like eggs, tomatoes, chocolate or cheese are also great," she continues. Claire says "novel, exciting ideas work well. I love watching reels of things that look clever and delicious but haven’t been done before. And short – I find myself leaving when too many mundane steps are included."


Comments