How to carve a chicken
You’ve mastered the art of roasting the perfect chicken, now it’s time to master the next crucial step: carving it. We’re breaking it down for you, step-by-step just ahead of the festive season. By Jess Spiro
Before carving
So, your chicken is beautifully burnished and perfectly cooked, but before you even think about carving it, you need to give it time to rest. This allows the juices to settle and makes the process of carving that much easier. You want to give the chicken at least 10 minutes to rest, but you could also leave it up to 30 minutes – covered lightly with foil to keep it warm. While you wait, ensure your knife is ready to do its best by sharpening it well.
Check out our easy-to-follow steps below. Ready to test out your technique? These are our favourite roast chicken recipes.
Butter-basted “rotisserie” chicken
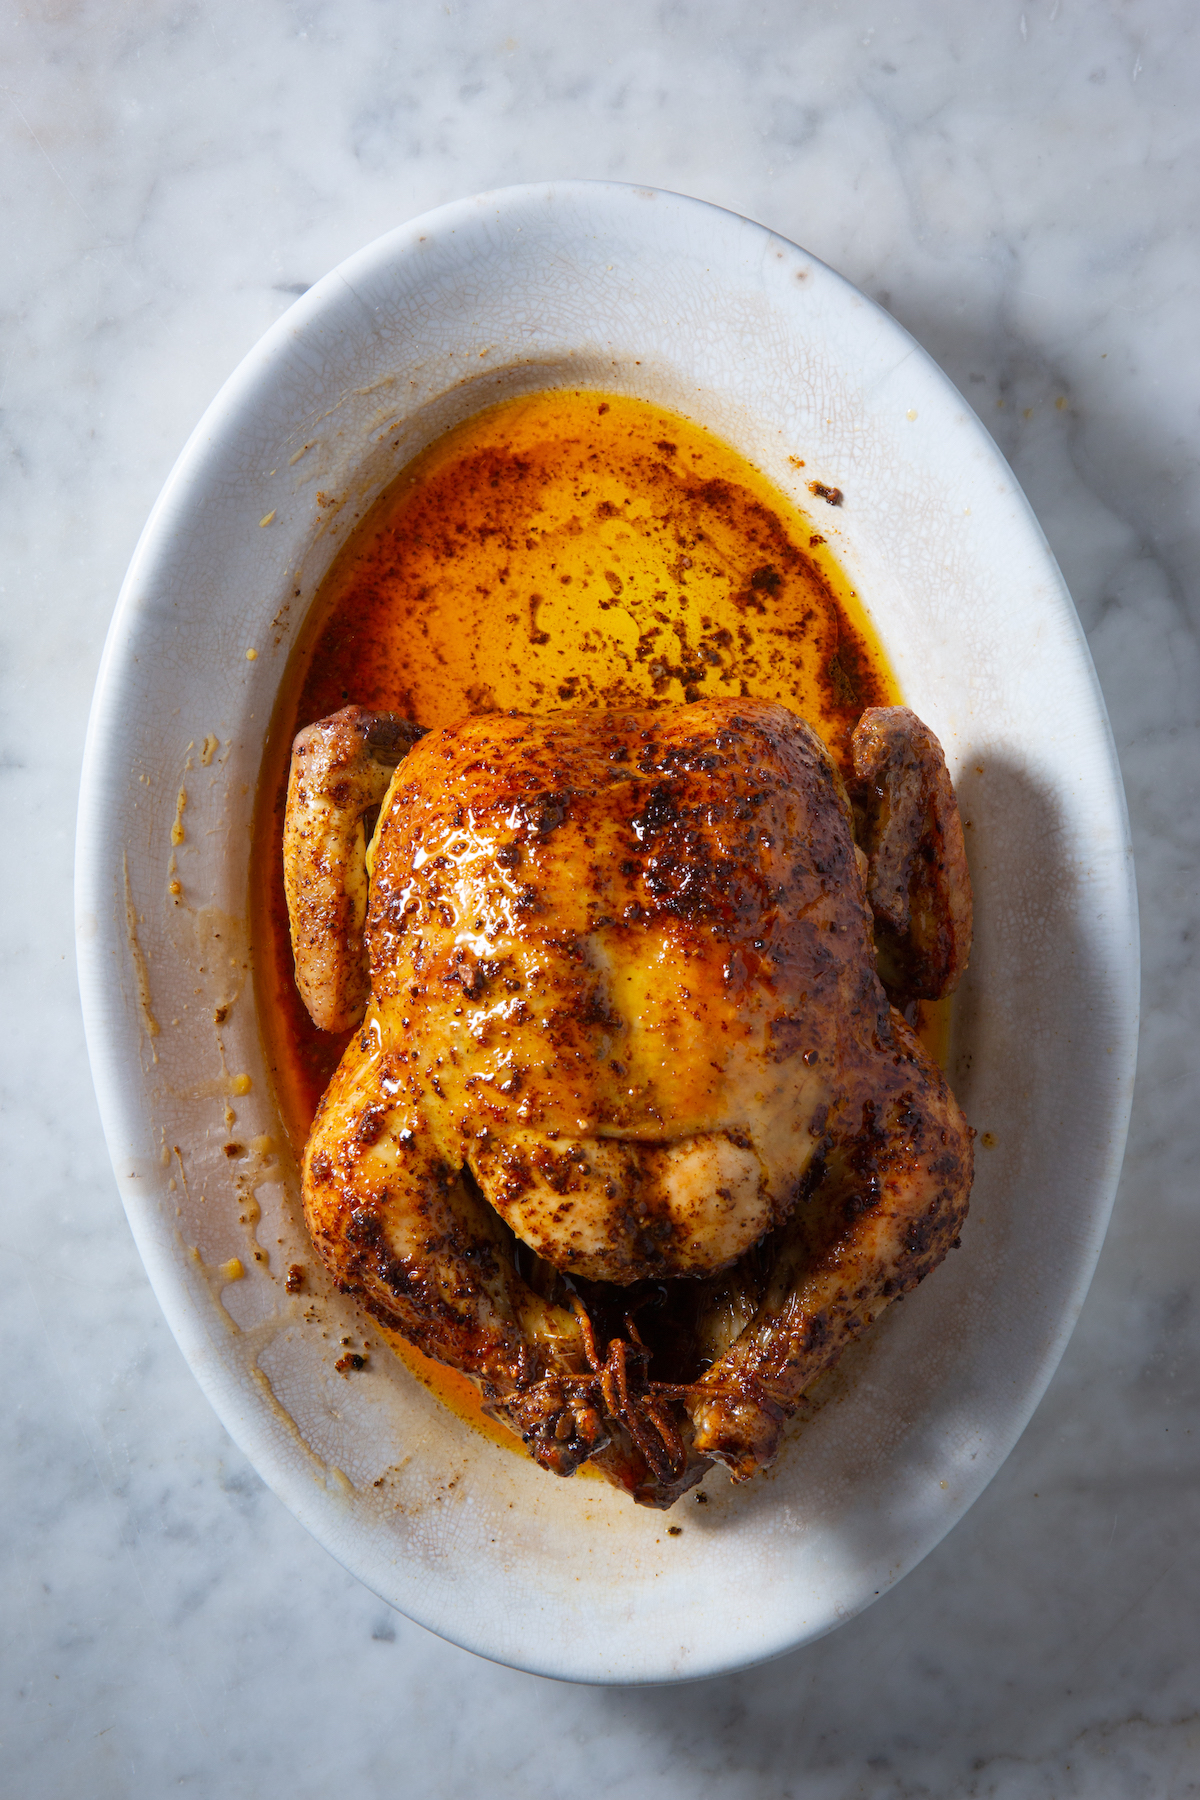
Get the recipe for butter-basted ‘rotisserie’ chicken here.
Chorizo-and-barley stuffed chicken

Get the recipe for chorizo-and-barley stuffed chicken here.
Sticky ClemenGold-glazed roast chicken
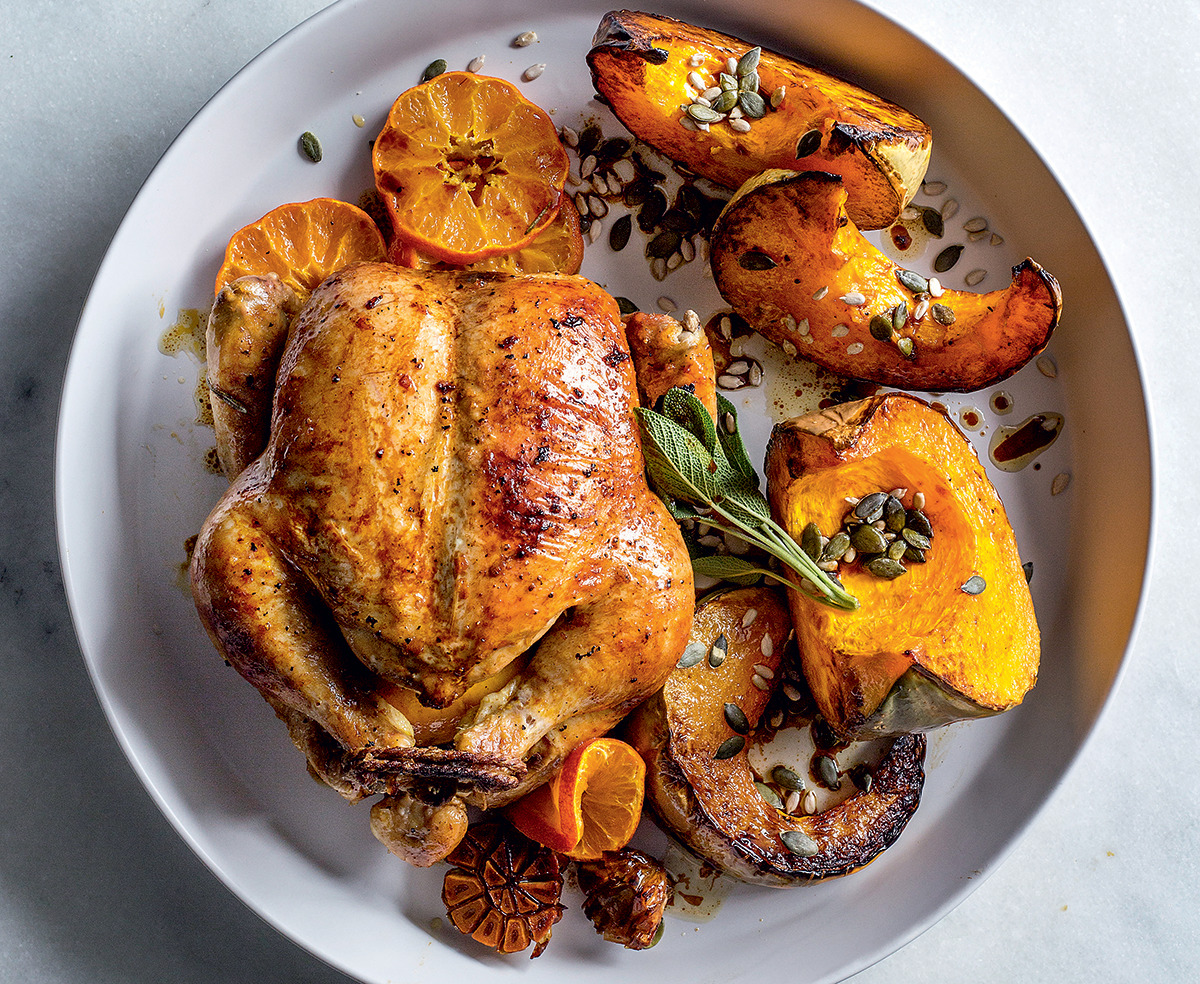
Get the recipe for sticky ClemenGold-glazed roast chicken here.
Method

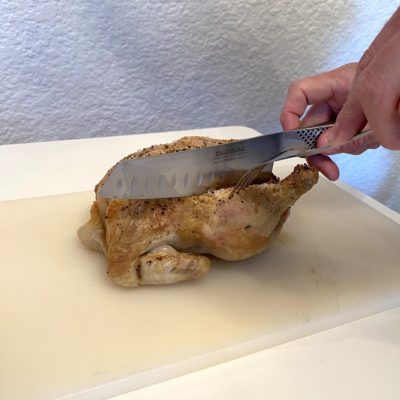
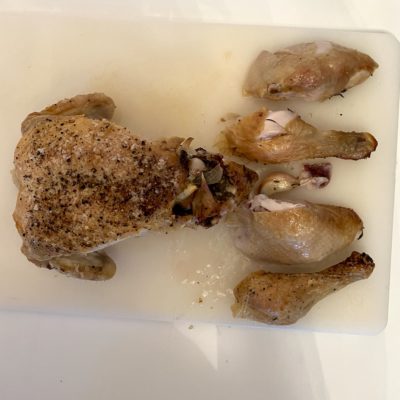
Start by separating the legs and thighs from the chicken. Using a fork (or carving fork), hold the thigh steady as you slide the knife down into the thigh joint of the bird.

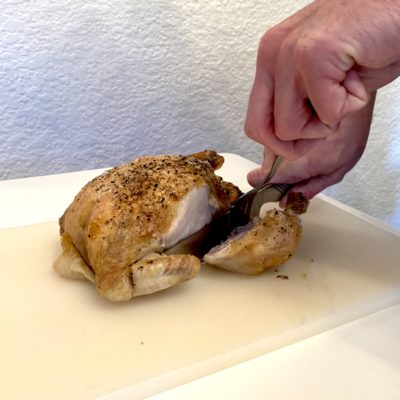
Press down firmly to slice through the joint, removing the thigh and leg.

Repeat on the other side and then separate both legs from the thighs by slicing through the leg joints of each.

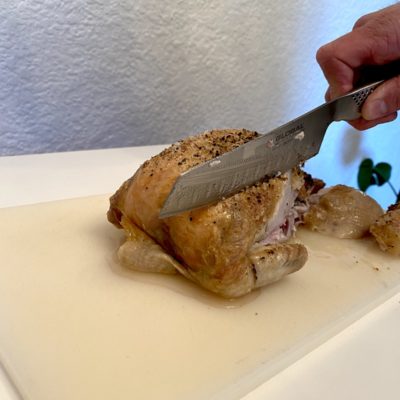
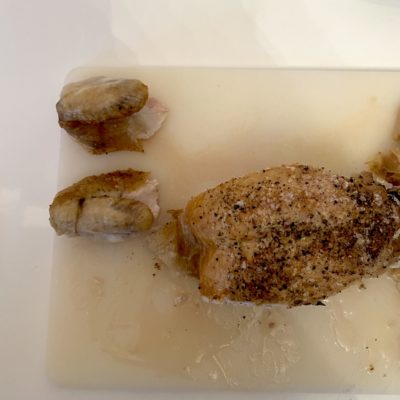
Now move onto the wings and breasts. Start by placing your knife just above where you think the wing joint would be and slice down towards the joint to release the wing. You do want to ensure there's a small part of the breast attached to the wing, which is why it's important to start slicing slightly above the wing joint itself.

Repeat on the other side.

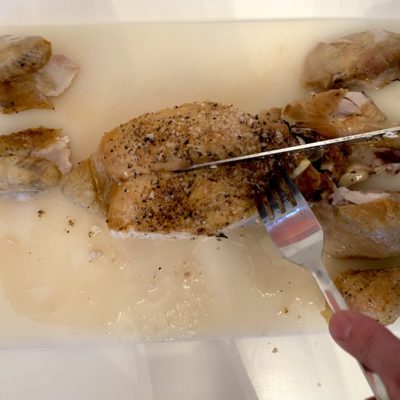
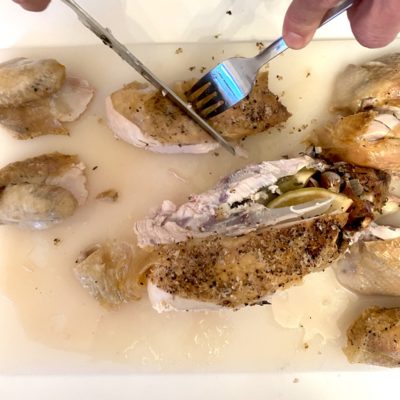
For the remaining breast, find the breast bone and carefully slice along the length of it to release the meat. You'll find this meat comes away very easily and you should be able to lift it gently off the bone. If not, use your knife to help ease the meat off.

Cut the breast into either two or four slices.

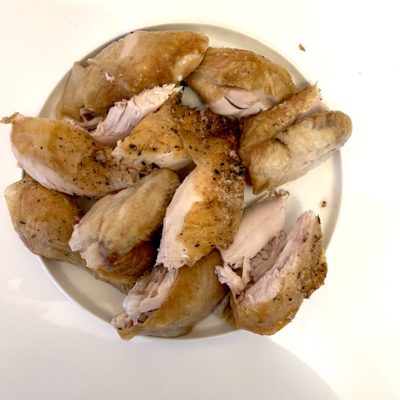
Arrange the carved pieces onto a platter and serve. Remember to keep the carcass for chicken stock.








Comments